Creating a Transit Gateway Attachment
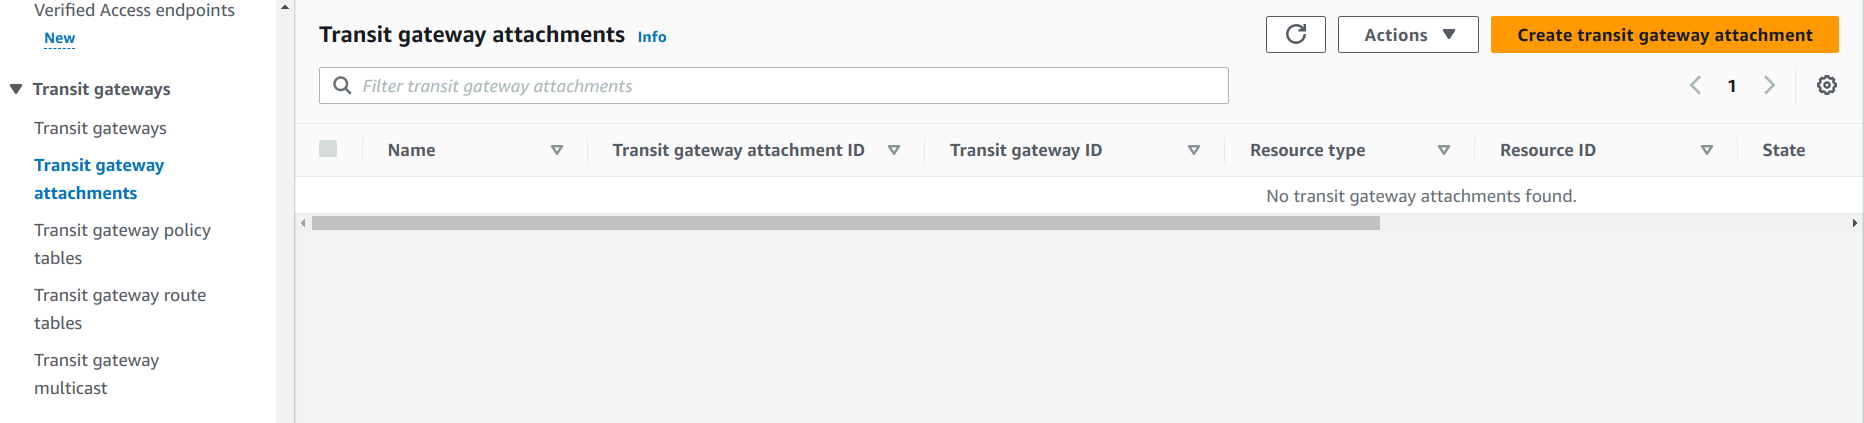
Select Transit gateway attachments from your virtual private cloud page, and then click the Create transit gateway attachment button in the top right corner of the panel.
In the Create transit gateway attachment screen:
a. In the Details section, select the transit gateway ID.
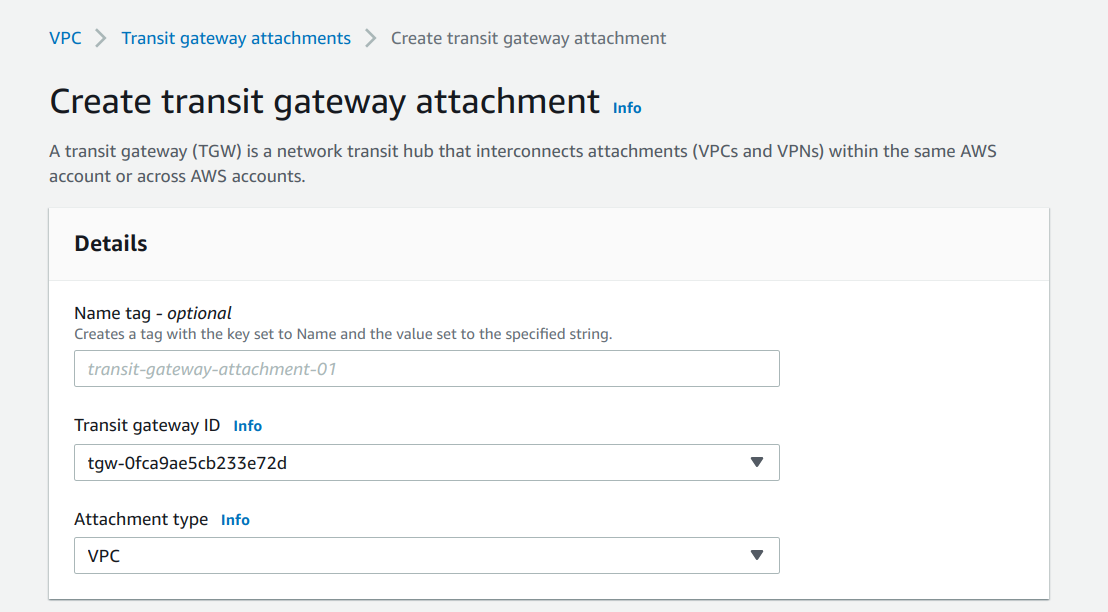
b. In the VPC attachment section, select the VPC ID of the VPC that you created.

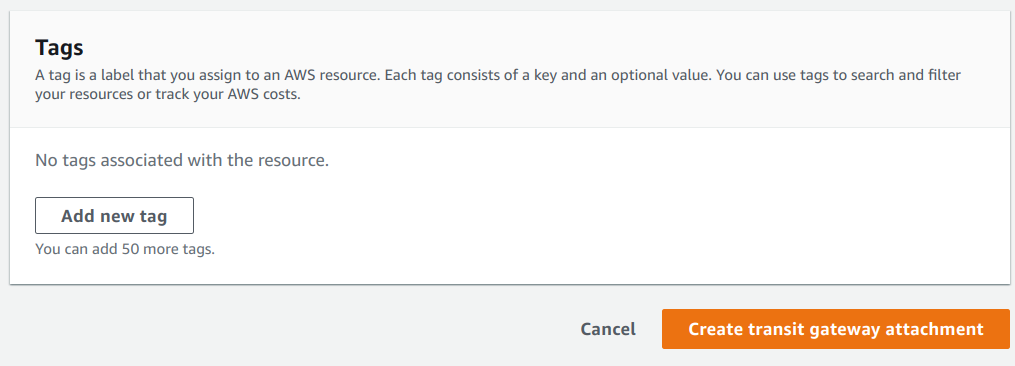
c. Click Create transit gateway attachment at the bottom of the page:
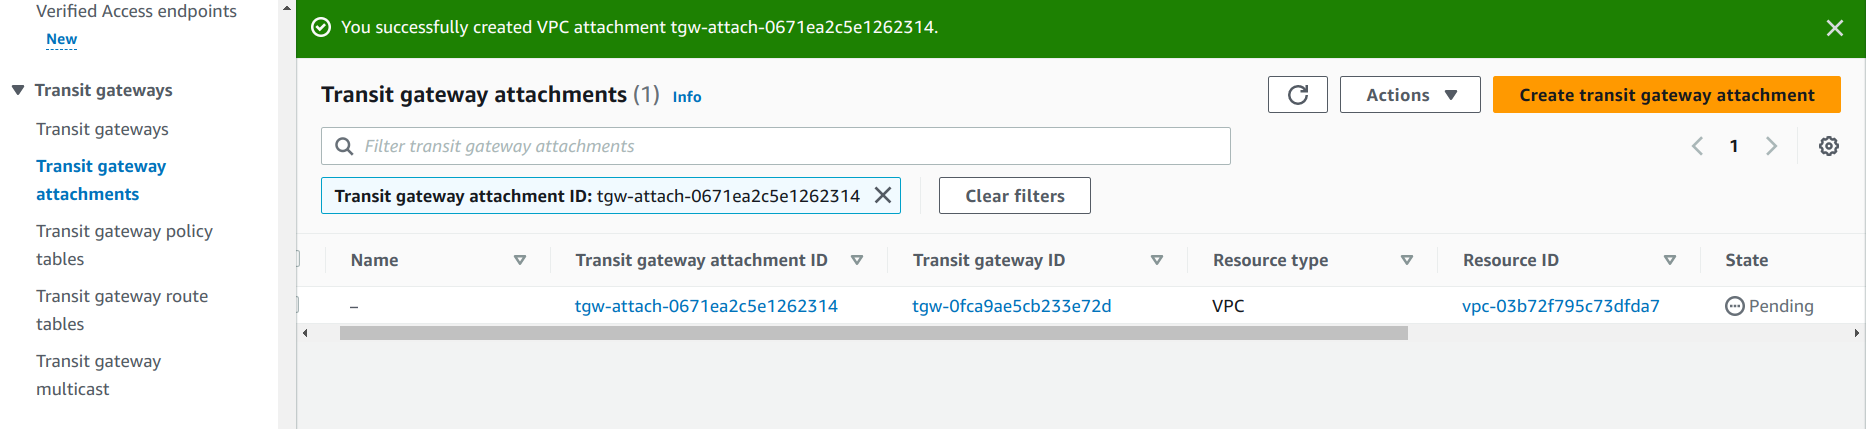
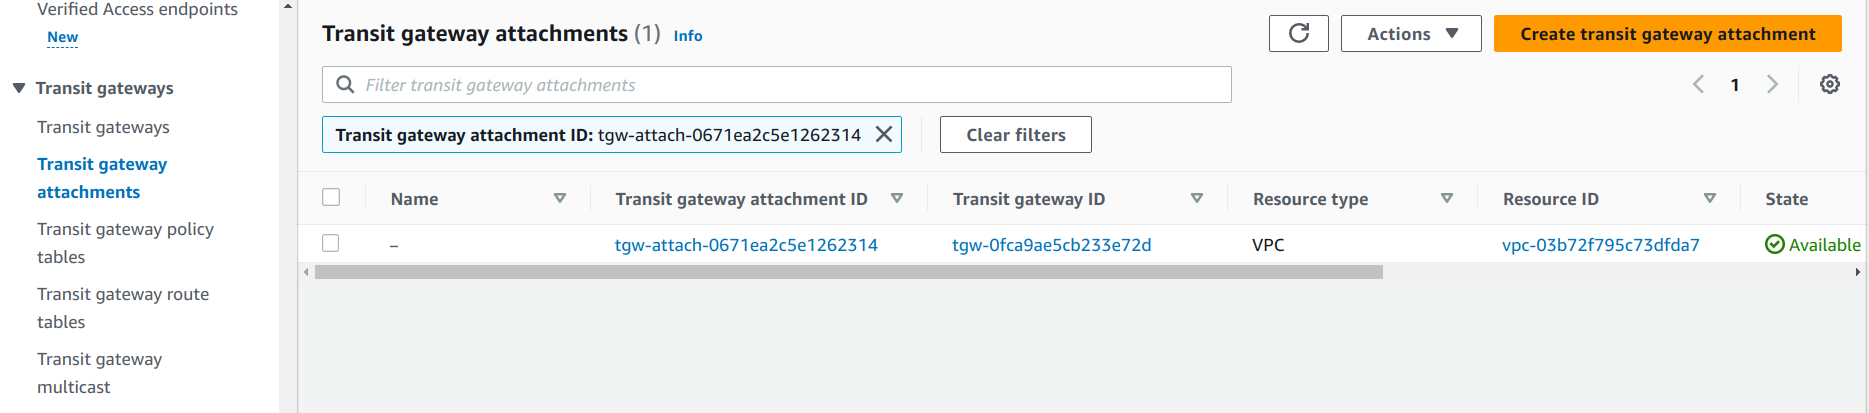
The transit gateway attachment’s status will change to Pending and then to Available:
Navigate to VPC -> Route tables and select the subnet where your EC2 will be running.
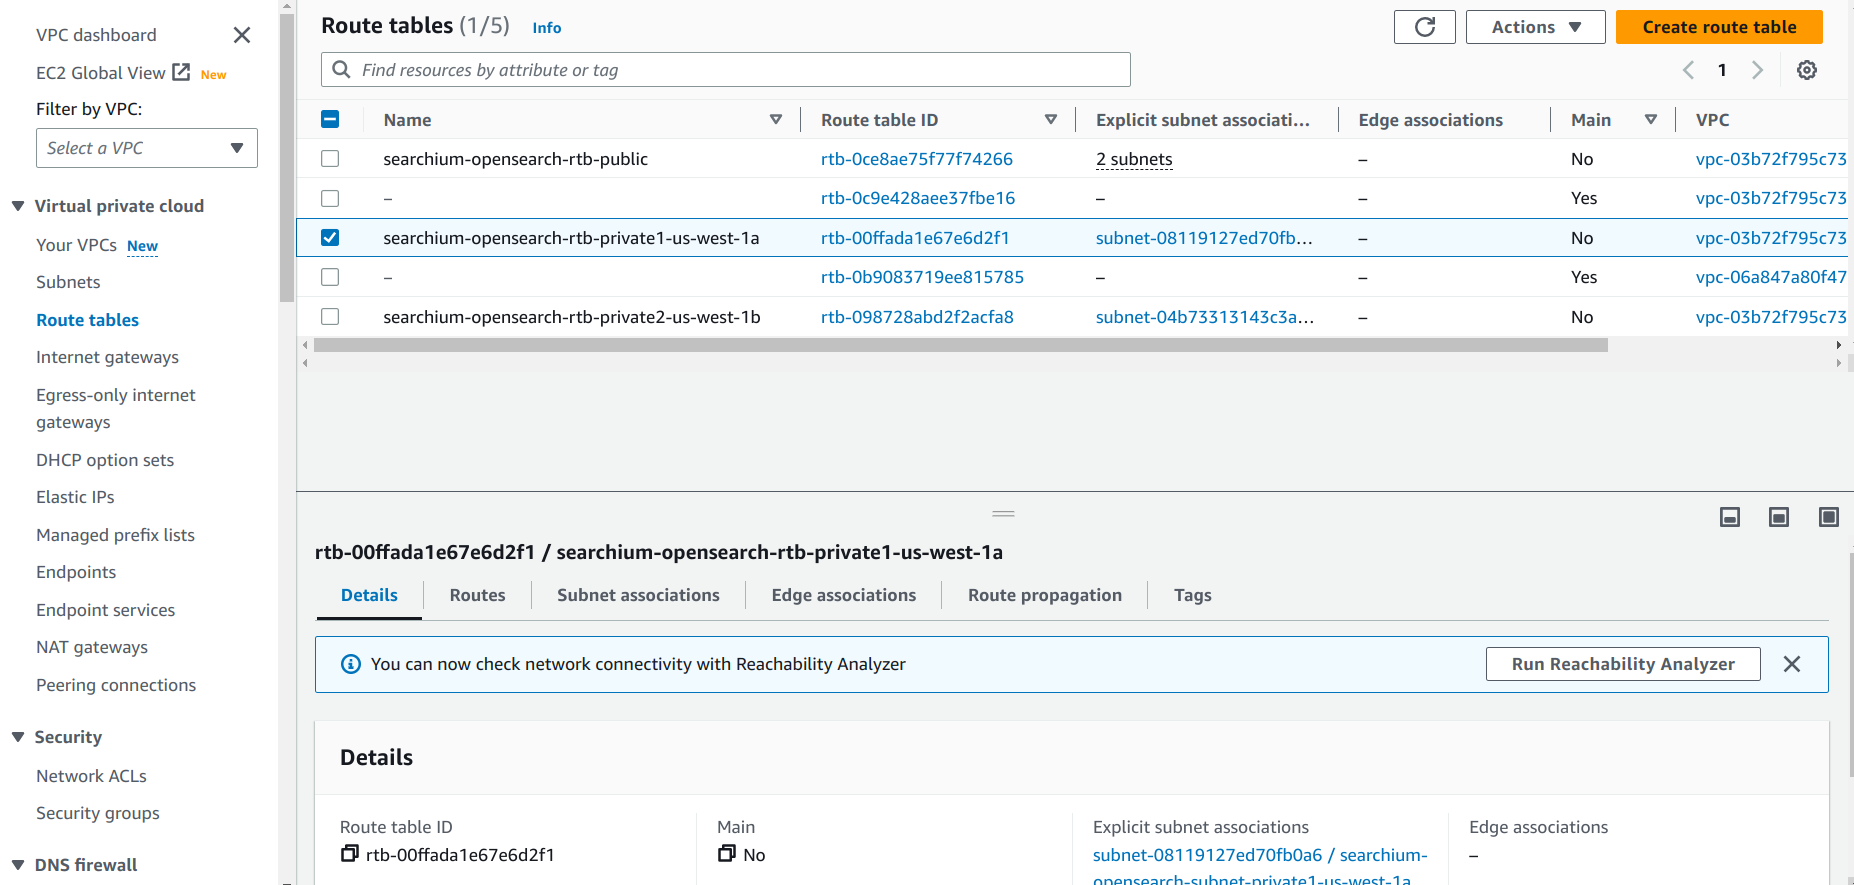
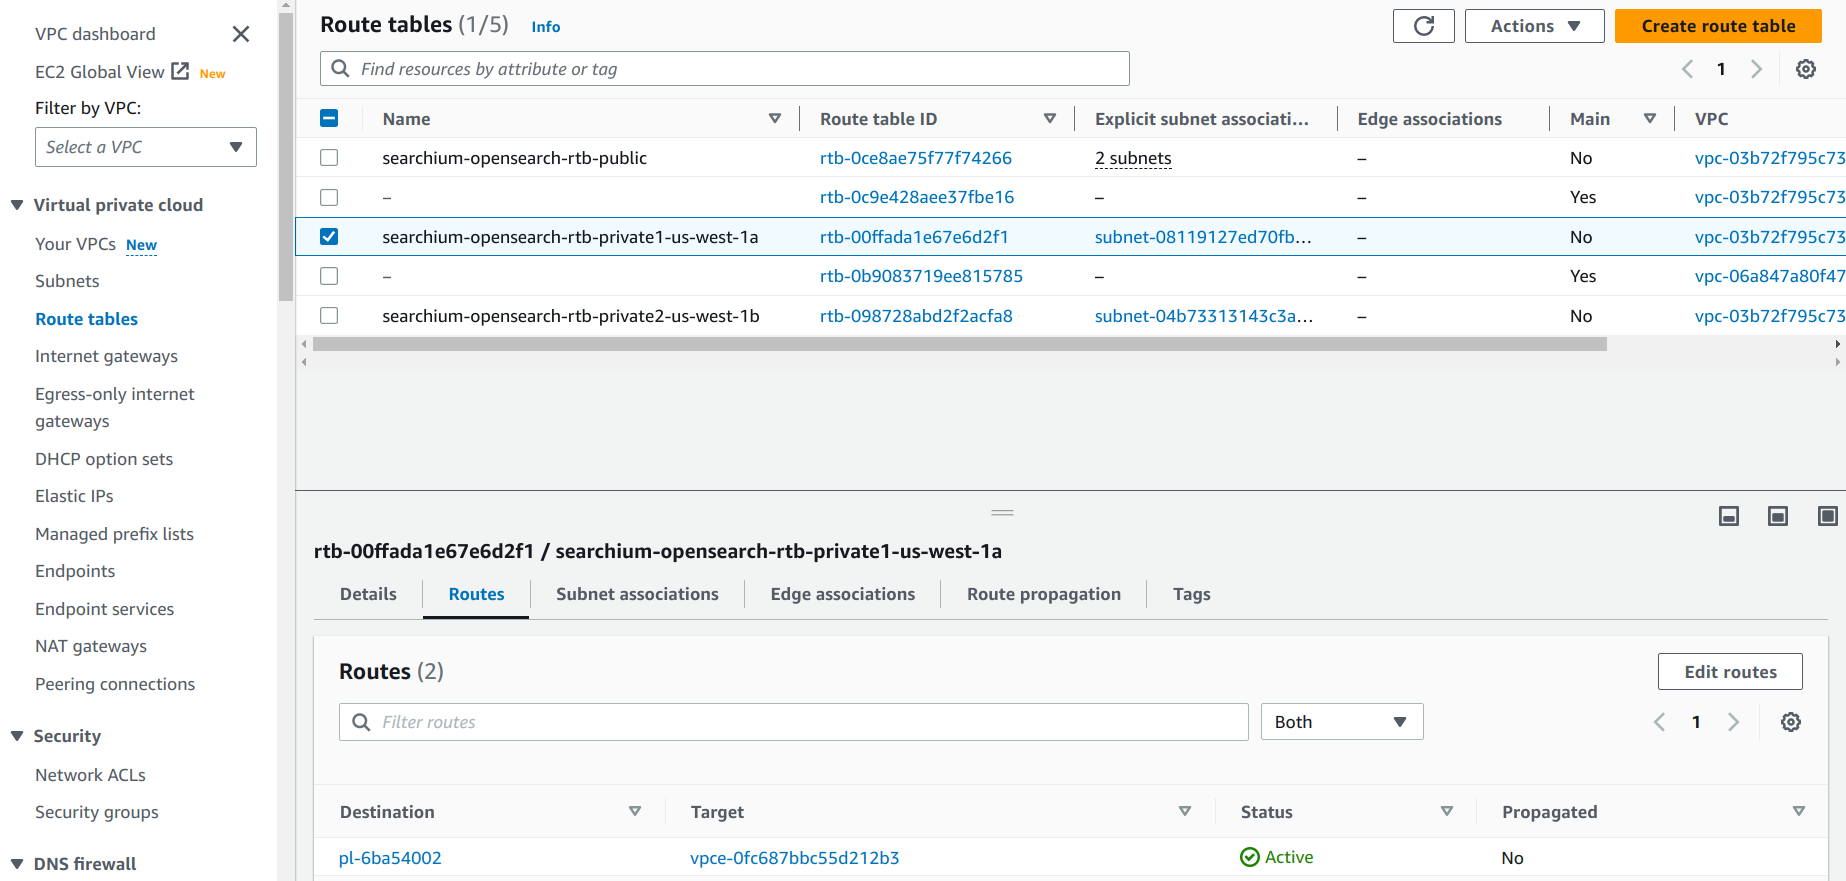
Select the Routes tab and click Edit routes:
Click the Add route button. Under Destination enter the following address
192.168.199.0/24. Under Target select your transit gateway.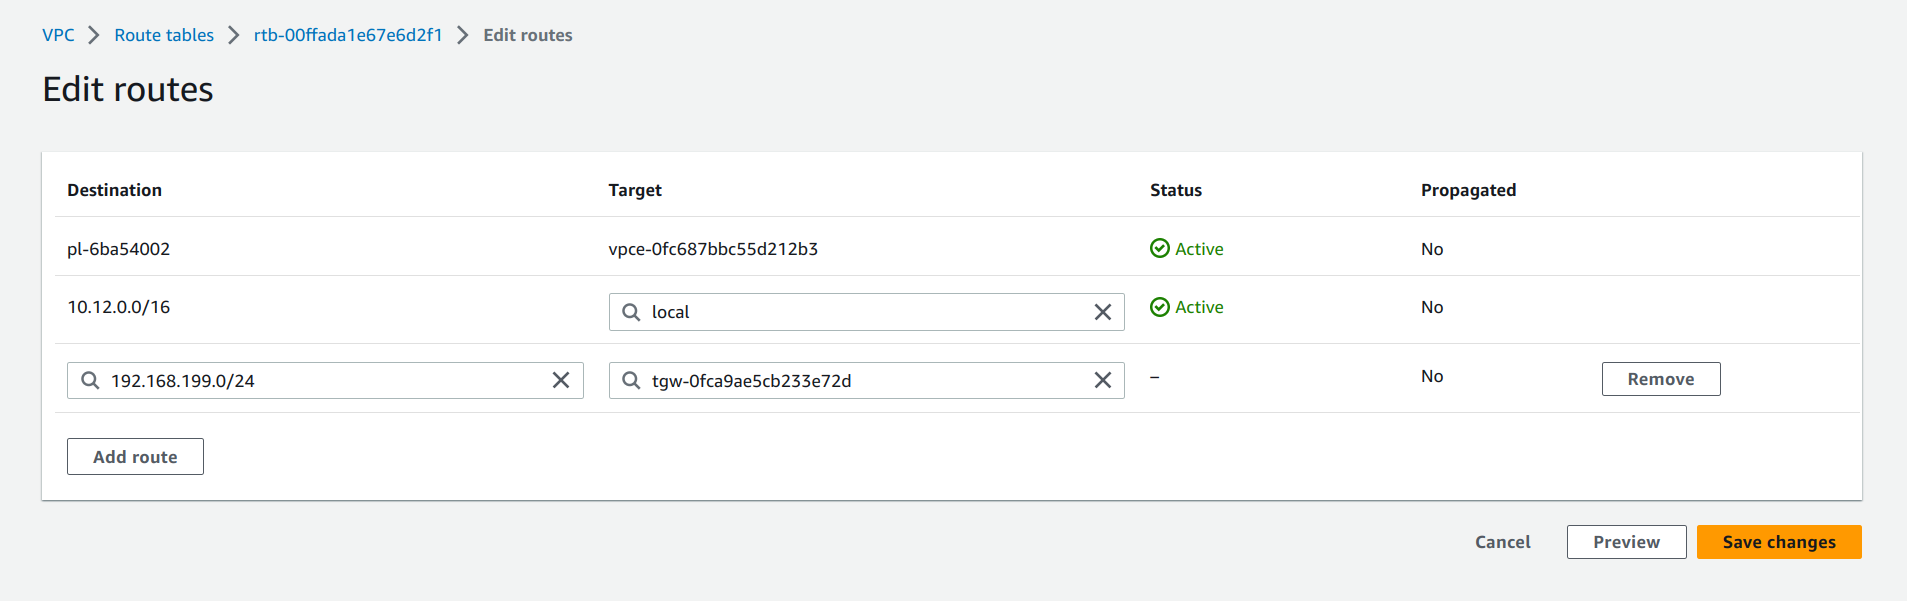
Click the Save changes button to confirm the route updates.
If you're going to place your EC2 in other subnets, then make sure to update to the corresponding routing table - (repeat from step 10).